To make an HTTP request in Magento 2, you can use the following steps:
First, you need to inject the HTTP client class into your class using dependency injection. You can do this by adding the following line of code in your class constructor:
public function __construct(
    \Magento\Framework\HTTP\Client\Curl $curl
) {
    $this->curl = $curl;
}
Now you can use the $this->curl object to make an HTTP request. You can set the request method, headers, and body using the following methods:
// Set the request method
$this->curl->setOption(CURLOPT_CUSTOMREQUEST, 'POST');

// Set the request headers
$this->curl->setHeaders(['Content-Type: application/json']);

// Set the request body
$this->curl->setBody(json_encode($requestBody));
Finally, you can send the request and get the response using the following code:
// Send the request
$this->curl->get($url);

// Get the response status code
$statusCode = $this->curl->getStatus();

// Get the response body
$responseBody = $this->curl->getBody();
That’s it! You have now made an HTTP request in Magento 2 using the Curl client class.
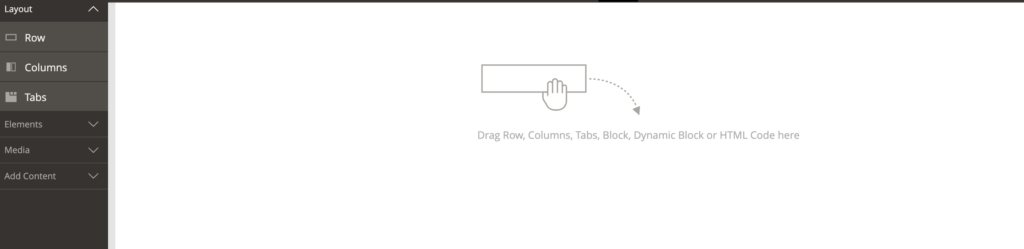
We have recently upgraded Magento to Magento 2.4.4 and noticed that admin is no longer able to use the “row” element of the page builder, and the following error is returned in the developer’s tool console:
static/adminhtml/Magento/backend/en_GB/vimeoWrapper.js%20net::ERR_ABORTED
Script error for "vimeoWrapper", needed by: Magento_PageBuilder/js/content-type/row/preview
Fix:
This is due to module-page-builder being updated for Magento 2.4.5 but this does not seem to be backwards compatible with 2.4.4.
You will need to run composer require magento/module-page-builder:2.2.2 to get the correct version and this should fix the issue.
Please do not forget to remove this dependency when you upgrade to Magento 2.4.5.
I recently upgraded one of my clients website from Magento 2.4.2 to Magento 2.4.4 and the site uses Braintree as the payment gateway and the backend Braintree Virtual Terminal is used quite frequently in their business.
After the upgrade, the virtual terminal stopped working though it’s still inconclusive if it was good by the Magento upgrade.
Issue:
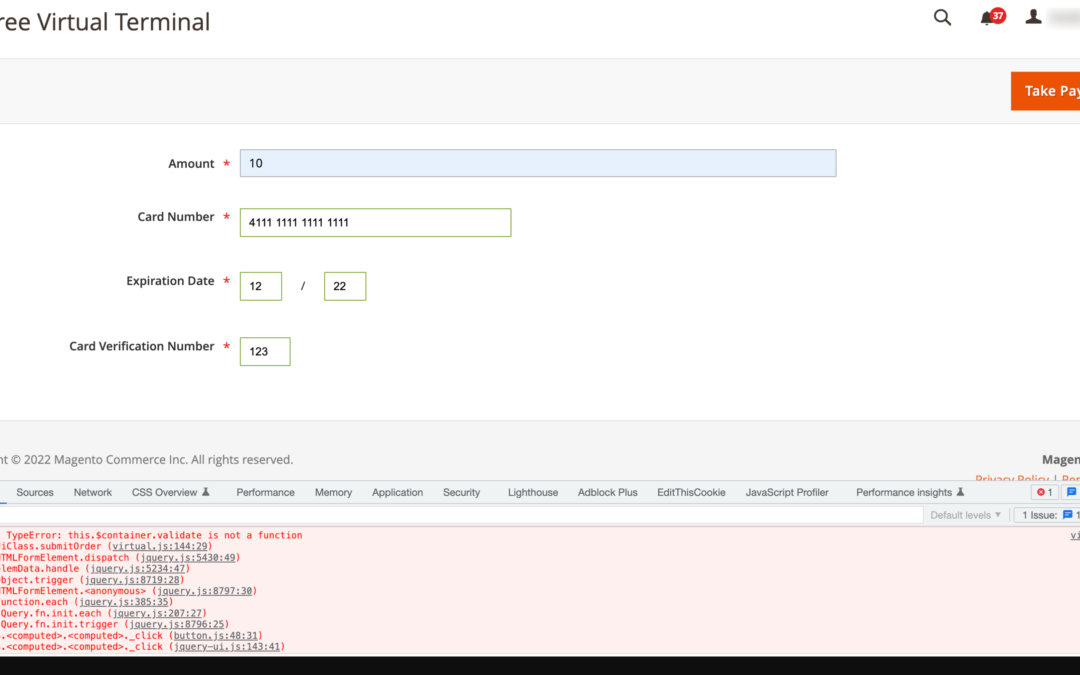
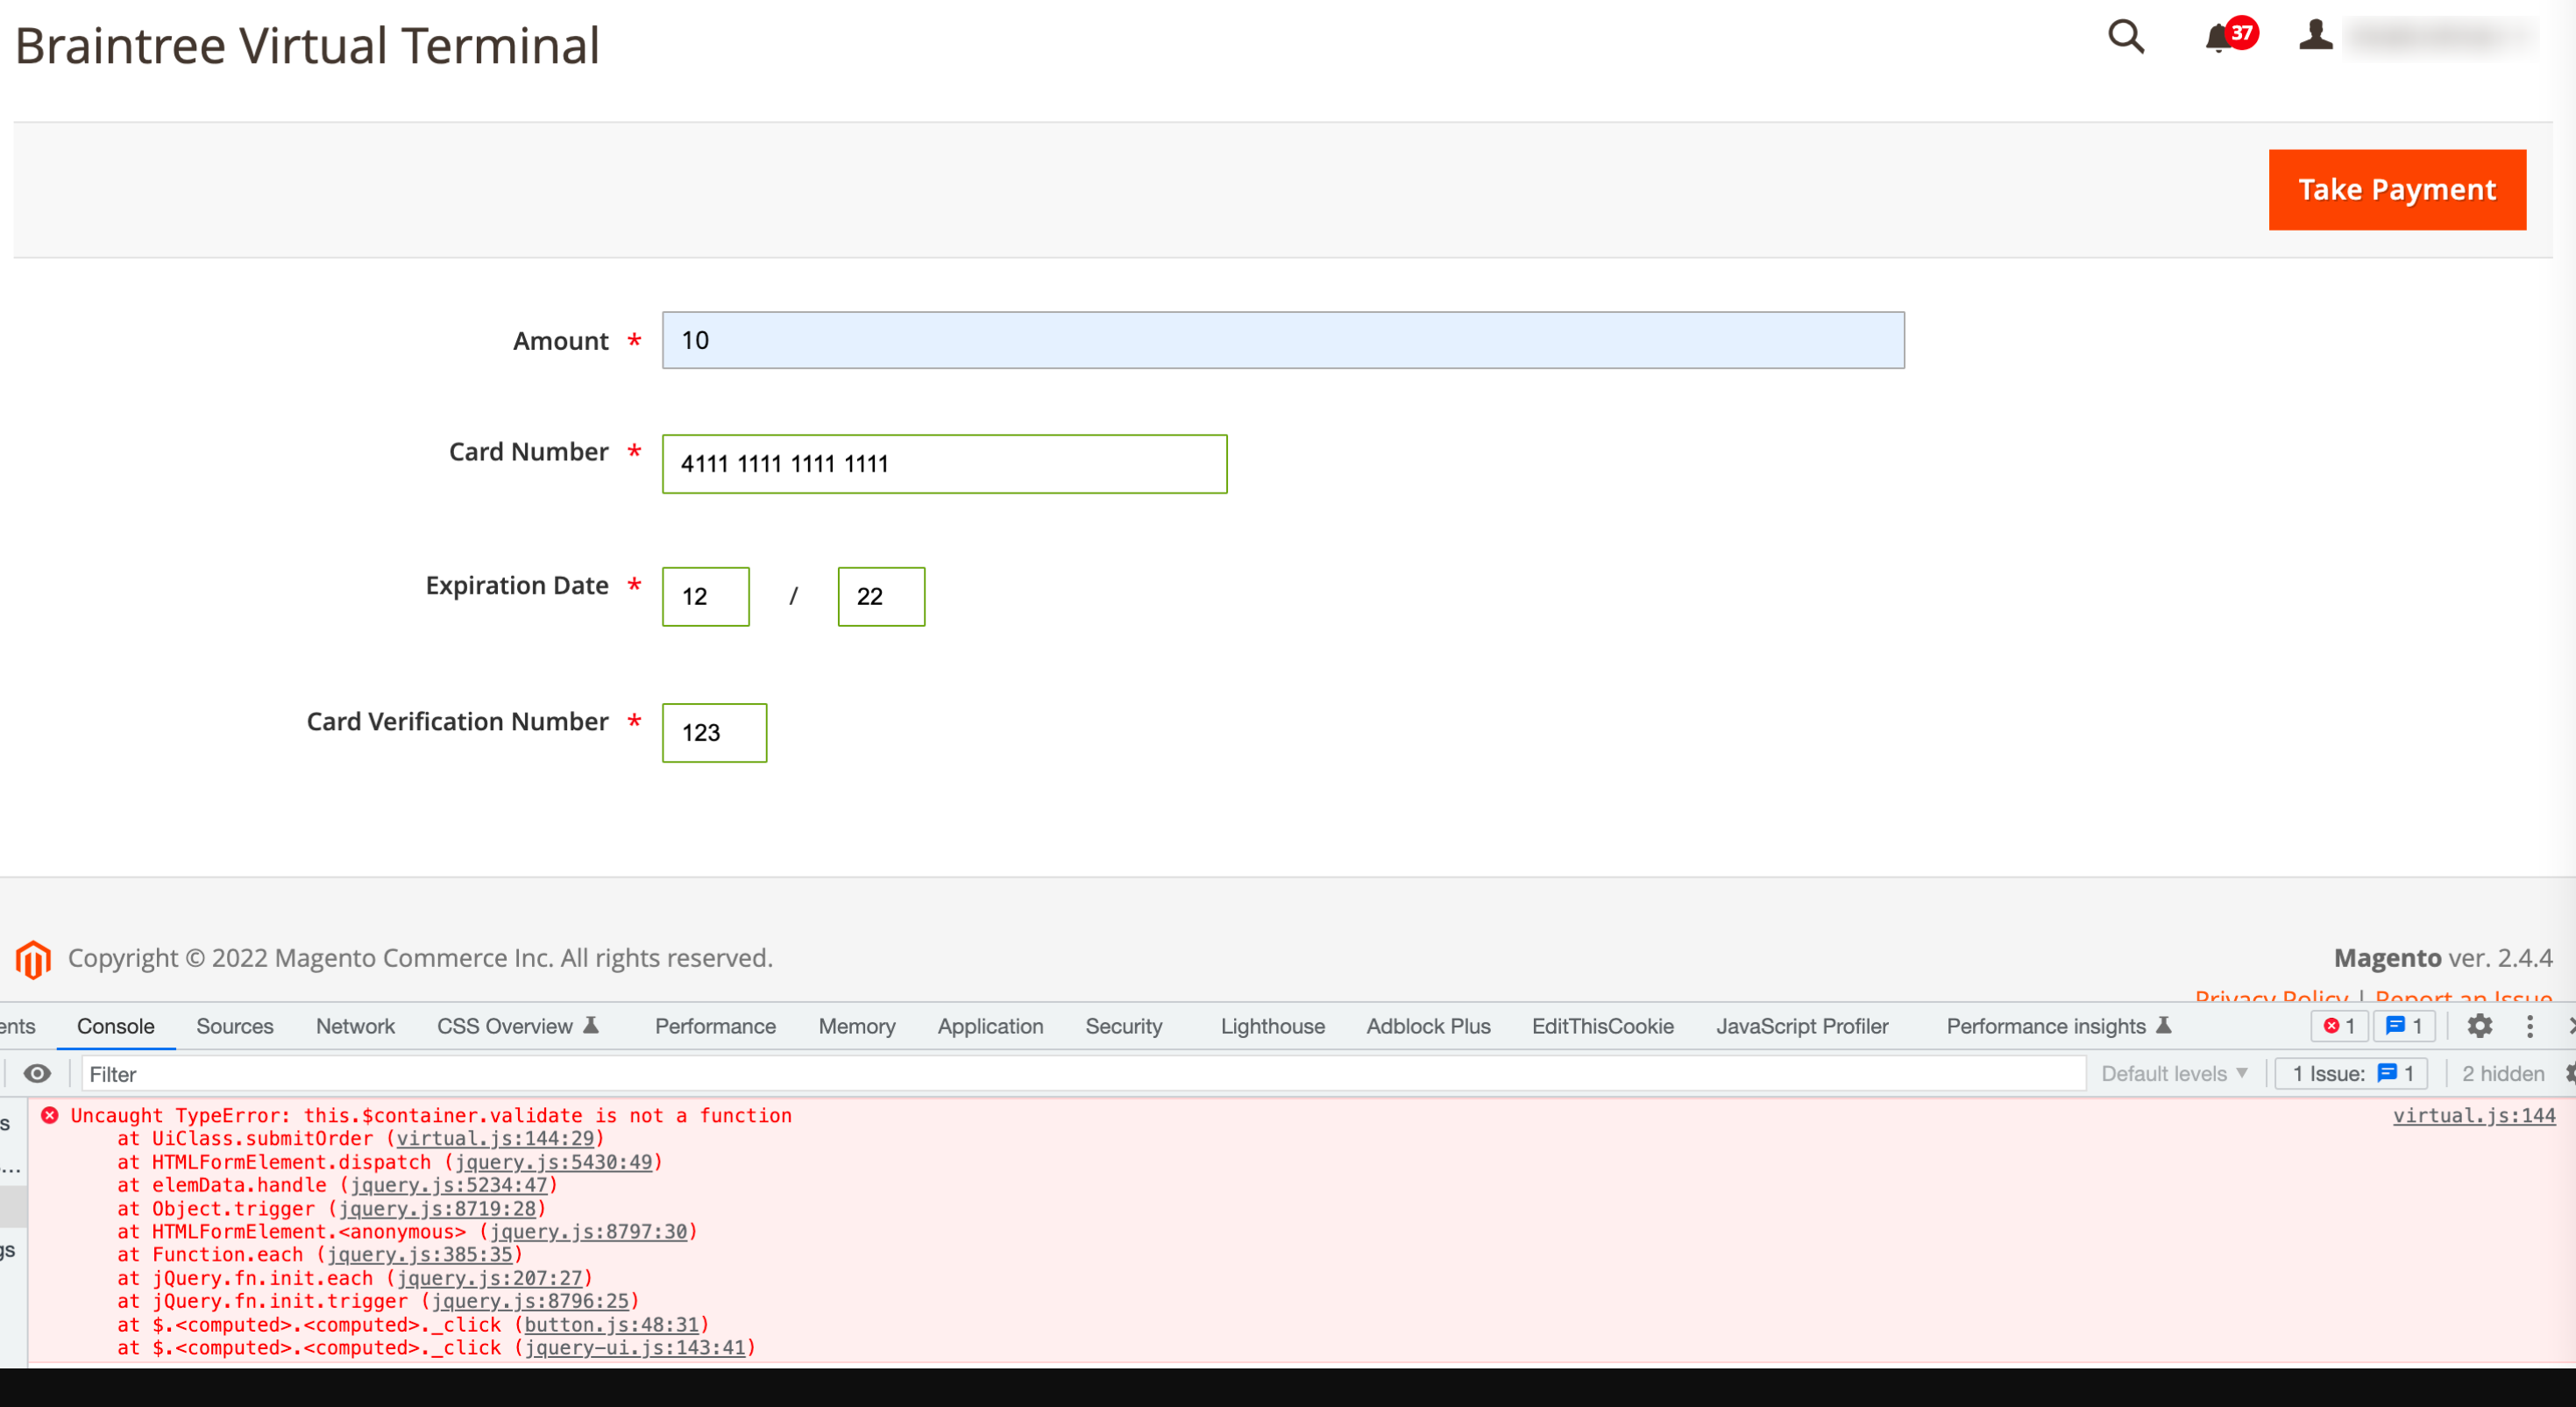
Braintree Virtual Terminal does not work and clicking on the Take Payment button returns the following error in console:
virtual.js:144 Uncaught TypeError: this.$container.validate is not a function
    at UiClass.submitOrder (virtual.js:144:29)
    at HTMLFormElement.dispatch (jquery.js:5430:49)
    at elemData.handle (jquery.js:5234:47)
    at Object.trigger (jquery.js:8719:28)
    at HTMLFormElement.<anonymous> (jquery.js:8797:30)
    at Function.each (jquery.js:385:35)
    at jQuery.fn.init.each (jquery.js:207:27)
    at jQuery.fn.init.trigger (jquery.js:8796:25)
    at $.<computed>.<computed>._click (button.js:48:31)
    at $.<computed>.<computed>._click (jquery-ui.js:143:41)
Steps to replicate:
Go to Magento admin > Sales > Braintree virtual terminal and add test card details and fill the dummy information > Click Take Payment
Nothing happens and instead a console error is returned
this.$container.validate console error
Fix:
I found that the required jQuery validator was missing in vendor/paypal/module-braintree-core/view/adminhtml/web/js/virtual.js and adding the missing library fixed the issue.
Since this was a core modification and there is no fix available yet so I have created a patch that you can apply with composer to add the missing library. Please note it is never a good idea to modify the core code file directly so either create a preference/override or create a diff patch to apply via composer.
To apply the patch, create a new file called diff.patch and put the following code in it and finally, install it with composer update.
PHPUnit is an automated testing framework for PHP and Magento 2 supports it out of the box with PHPUnit. As a good software engineer, one must consider writing their code by following the Test Driven Development a.k.a. TDD approach so in this quick tutorial, I will briefly explain the idea of PHP Unit Testing and why is important to follow TDD.
What is Unit Testing?
Unit Testing simply refers to testing every individual component/unit of a software. The objective is to ensure and validate that each unit of the software you are writing performs as designed. A unit is the smallest testable part of your application that usually accepts one or a few inputs and mostly a single output. One of the benefits of Unit testing is that this process is fully automated and does not require man hours to review and test the code.
Why Unit Test?
There are several benefits of Unit Testing but the key three benefits are as follow:
Early problem detection
Have you just created a beautiful software but one or more sections do not work in production? If yes then welcome to Unit Testing using which we can find the problems early in the development cycle.
Facilitates Change
Is there a new version of the programming language available and the version in which you wrote your software been deprecated? No problem – Unit testing allows you to refactor code or upgrade system libraries at a later date, and make sure the module still works correctly. The idea of unit testing is to write test cases for all functions so if a change causes a fault, it can be quickly identified.
Design
Ok I am not talking about your website frontend design or the flashy colours here. I’m instead referring to Design Patterns of your software. Unit Tests are to be written prior to the implementation of the actual code, and this approach helps a developer to think through the design and the end goal before the development begins.
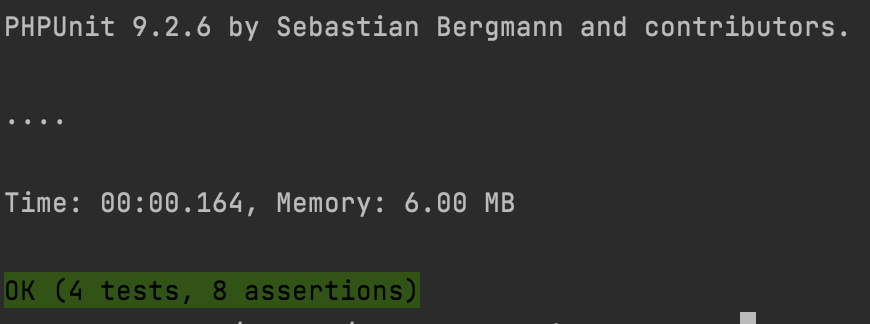
Enough of the theory .. now let’s move on and create a simple Unit Test for your Bespoke Magento Module.
Write a unit test in Magento 2
Let’s assume that you have created a simple Magento 2 module called Shoman_MyFirstModule; that has its configuration area in Store > Configuration (say Shoman > My First Module), and in the configuration area you have a dropdown with Yes/No value.
Your module has a Helper Class called Data.php with a method called isEnabled(). The content of the file is as follows:
As you can see in the code above, we have simple function that pulls and returns the value of the custom configuration.
Next, we are going to create a Unit Test for this Helper Class.
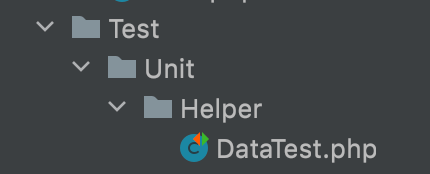
In your custom module root, create a new directory Test/Unit/Helper; and since your Helper class is called Data.php so create a new file called DataTest.php in the path app/code/Shoman/MyFirstModule/Test/Unit/Helper. Your directory structure will look like the one in the image below:
Unit Test Path
DataTest.php will extend \PHPUnit\Framework\TestCase and have two functions:
setUp() – treat it as a __construct() function
testIsEnabled() – isEnabled() is the original function in the Data.php class. We have prefixed the original function name with test so we can run a Unit Test on it.
I am a Magento certified expert with a 100% success rate on UpWork (View Profile) and more than 2000 hrs.
I am an eCommerce Enthusiast and started using Magento back in 2014. I specialise in creating custom and bespoke modules for Magento including but not limited to third party integrations and bespoke business requirements.