Earlier this week, Adobe identified RCE vulnerability in both commerce and open source editions and released a security patch APSB22-12 marked as Critical Priority to be installed immediately.
What this means is if you are running your website on Adobe Commerce (2.3.3-p1-2.3.7-p2) or Magento Open Source (2.4.0-2.4.3-p1), then your website is at high risk and needs to be patched immediately.
Once you have downloaded the appropriate patches, you can create a new directory called i.e. ./patches in your Magento root, upload patch files and run the following commands:
There are many times when you would want to add a custom <script> just before the opening head tag in Magento but no matter what you do, the script will always get added after Magento loads its requireJS which isn’t much helpful, but in this article, I will share the steps you can take to ensure that your script gets added right after the opening <head> tag – yes, even before Magento injects its requireJS.
By default Magento 2 uses the root.phtml file to setup head content accordingly, which is located in vendor/magento/module-theme/view/base/templates/root.phtml (unless it has been overridden in your custom theme). The content of the root.phtml is as follows:
This file contains the $requireJs variable and block and the require.js block is defined in vendor/Magento/module-theme/view/frontend/layout/default.xml content of which is as follows:
Now, there are two possible solutions to override the file:
By overriding the file in your custom theme
By creating a simple module (preferred)
Override require_js.phtml in your custom theme
To override the the file in your custom theme, copy require_js.phtml from vendor/magento/module-theme/view/frontend/templates/page/js to your theme app/design/frontend/{VENDOR}/{THEME_NAME}/Magento_Theme/templates/page/js/ and finally, put your custom JS code just above the requireJS block i.e.
As you can see, in the code above, we are setting a new template file code.phtml for the require.js block.
Next, go ahead and create the code.phtml file in ./view/frontend/templates and add the custom code as follows:
<?php
<!-- My Custom Script start -->
<script type="text/javascript">
console.log("Hello World!");
</script>
<!-- My Custom Script end -->
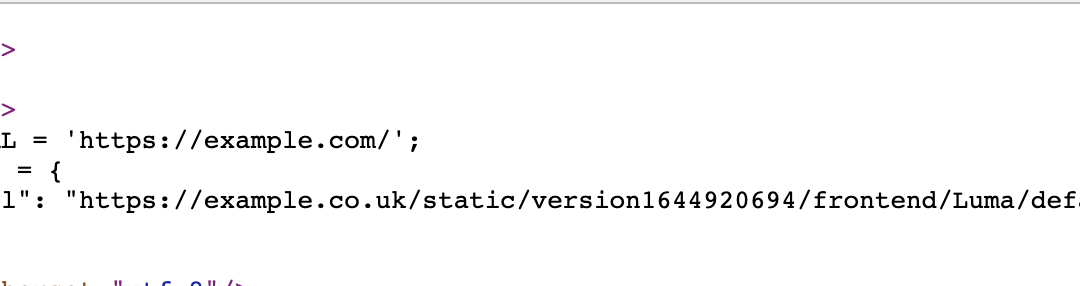
<script>
var BASE_URL = '<?= $block->escapeUrl($block->getBaseUrl()) ?>';
var require = {
"baseUrl": "<?= /* @escapeNotVerified */ $block->getViewFileUrl('/') ?>"
};
</script>
I have created a simple module that does the job already and you can download it from here: https://github.com/shoaibrehman/Magento2-OneTrust-Cookies – this module primarily focus on integrating OneTrust Cookie Policy script so feel free to replace the content of code.phtml file as per your needs or you can fork the module and modify it as per your needs!
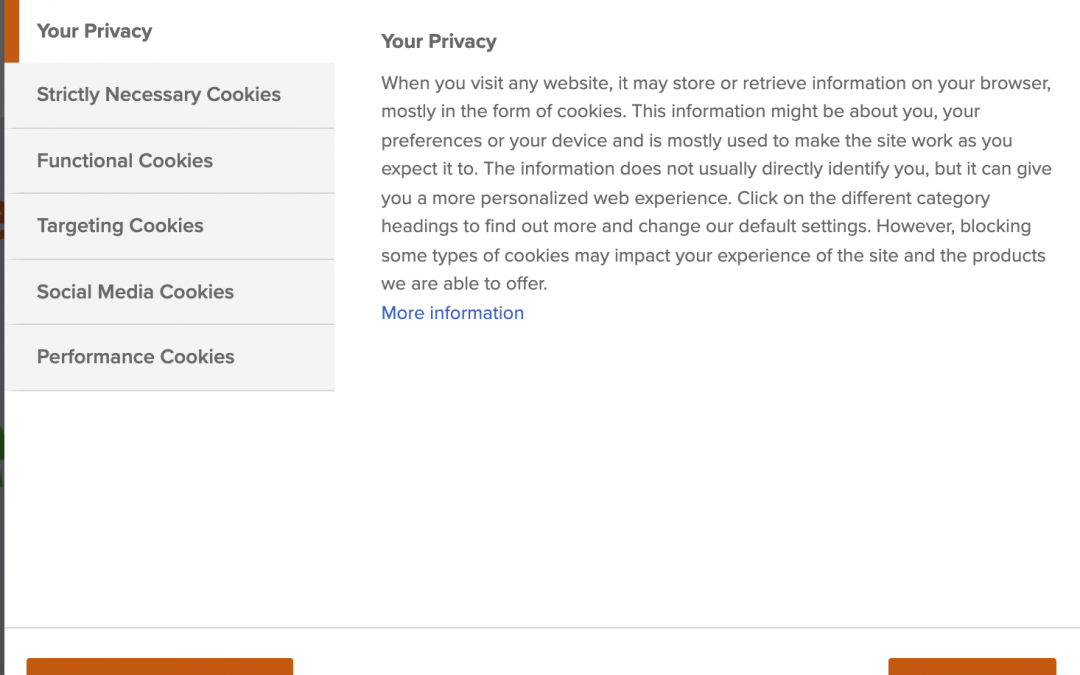
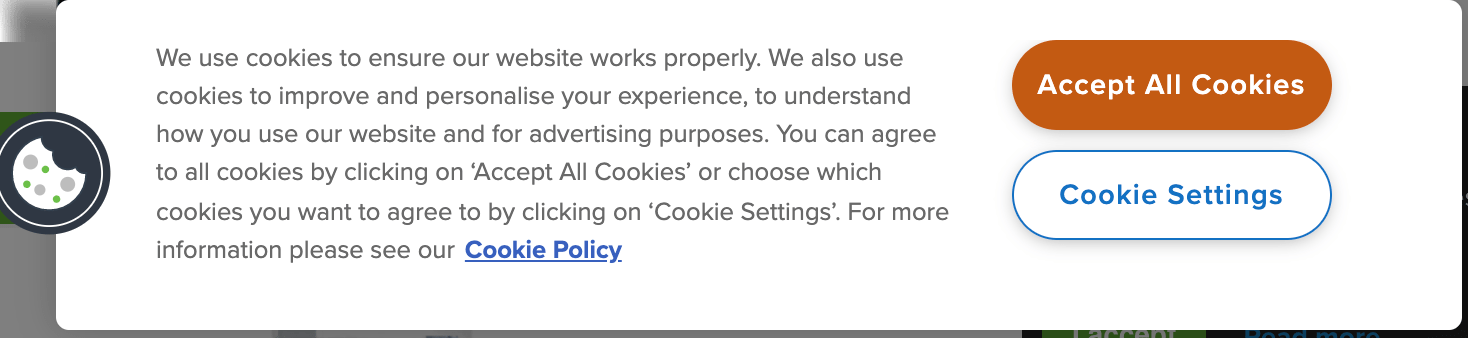
OneTrust is one of the popular user consent management systems out in the market which allows business to monitor Privacy, Security & Data Governance in their platform.
While it has integrations with many popular web platforms, it is missing a solid integration with Magento.
It’s a simple tracking script which one would easily copy/paste in Magento admin > Content > Design > Themes > Head > Misc script; but the catch is that this script needs to be put right after the opening <head> tag which is not possible if you copy/paste the script in Magento backend theme configuration area.
To achieve this, I have created a simple Magento module (compatible with 2.2.x, 2.3.x, 2.4.x) using which you can put the OneTrust Cookie Script in the right location.
Shopware is one of the best free and open-source platforms that helps you to start your own e-commerce website. It provides you useful tools to help you build and customize a fully responsive and functional online store in a matter of a few minutes. We have all heard about other ecommerce platforms such as Magento, BigCommerce and WooCommerce but like other platforms, Shopware is powerful, easy-to-use, and a flexible application with an ever growing open source community. It has an intuitive interface which makes it easier to create and manage content and products and on top of that, it is super quick.
While Shopware support is not officially available on Nginx but in this tutorial, we will show you how to install Shopware with Nginx and have it up and running in a matter of few mins.
Prerequisites:
A development server running PHP7.3 (or higher), MySQL and Nginx.
A valid domain name or a local host file override
Full root level access to your server.
Installation
Download Shopware
Let’s suppose you are using a local domain i.e. local.shopware.com and updated your OS hosts file with the domain name to point to your local server i.e. 127.0.0.1.
For us to install shopware, first we will create an installation directory on your local server:
mkdir /var/www/htdocs/local.shopware.com
Next, download the Shopware with the following command:
NOTE: We have set ROOT as the directory owner purely because it is a local installation. Please do not set ROOT as the file owner on your live production or development environment.
Create a Database for Shopware
You can either create a new database using the shopware installation wizard or do it beforehand using the following commands:
First, connect to the MySQL server using the following command:
mysql -uroot -p -hlocalhost
Once connected, create a database and user with the following command:
MySQL [(none)]> CREATE DATABASE shopware;
MySQL [(none)]> GRANT ALL ON shopware.* TO 'shopware' IDENTIFIED BY 'password';
MySQL [(none)]> FLUSH PRIVILEGES;
MySQL [(none)]> EXIT;
Once you are finished, you can proceed to the next step to configure Nginx.
Configure Nginx for Shopware
Shopware entry point is in its public directory so you will need to create an Nginx virtual host file for Shopware with the following command:
nano /etc/nginx/conf.d/shopware.conf
And add the following block:
server {
    listen 80;

    # Handle / to index.php
    index index.php;

    # Our server name
    server_name local.shopware.com;

    # Where the code is located
    root /var/www/htdocs/local.shopware.com/public;

    # Needed for Shopware install / update
    location /recovery/install {
        index index.php;
        try_files $uri /recovery/install/index.php$is_args$args;
    }

    location /recovery/update/ {
        if (!-e $request_filename){
            rewrite . /recovery/update/index.php last;
        }
    }

    # Forward any not found file to index.php. Also allows to have beautiful urls like /homemade-products/
    location / {
        try_files $uri /index.php$is_args$args;
    }

    # Let php-fpm handle .php files
    location ~ \.php$ {
        fastcgi_split_path_info ^(.+\.php)(/.+)$;
        include fastcgi.conf;
        fastcgi_param HTTP_PROXY "";
        fastcgi_buffers 8 16k;
        fastcgi_buffer_size 32k;
        fastcgi_read_timeout 300s;
        client_body_buffer_size 128k;
        fastcgi_pass unix:/run/php-fpm/www.sock;
        http2_push_preload on;
    }
}
Finally, save the file and restart Nginx.
Access Your Local Shopware Website
We will now complete final step of the installation using the web installation wizard.
So, open your web browser and type the URL http://local.shopware.com.
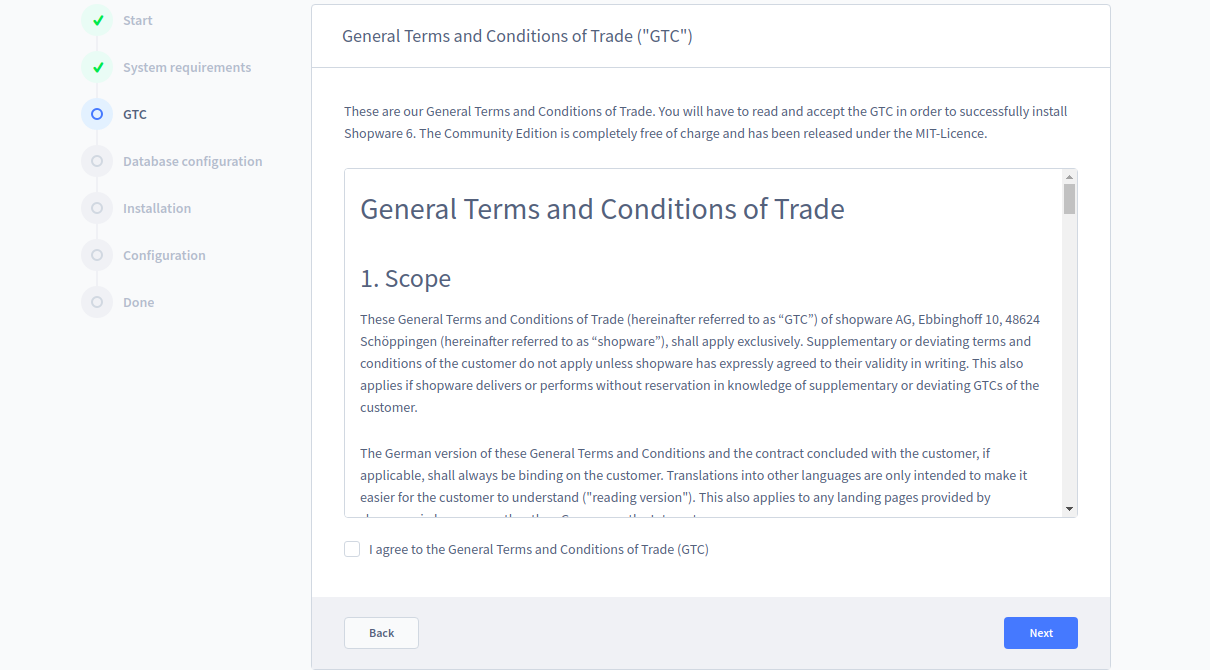
Select your language and click on the Next button. Make sure all the requirements have been met then click on the Next button. You should see the following page:
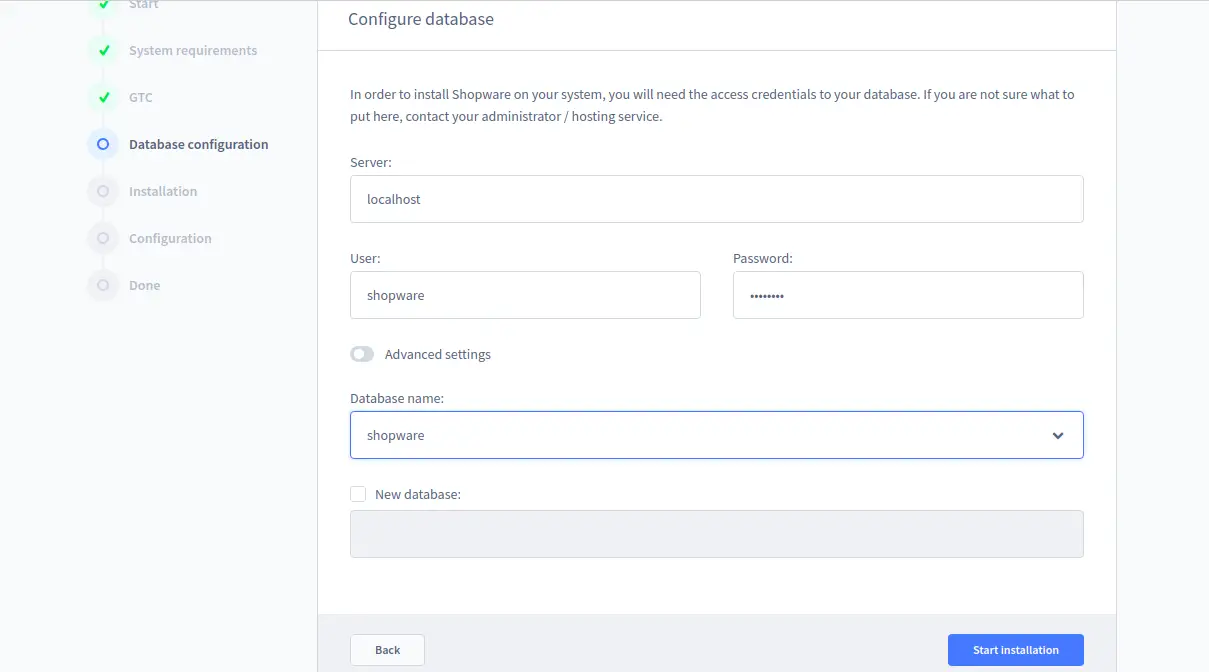
Agree to the GTC and click on the Next button to head to the Database configuration section:
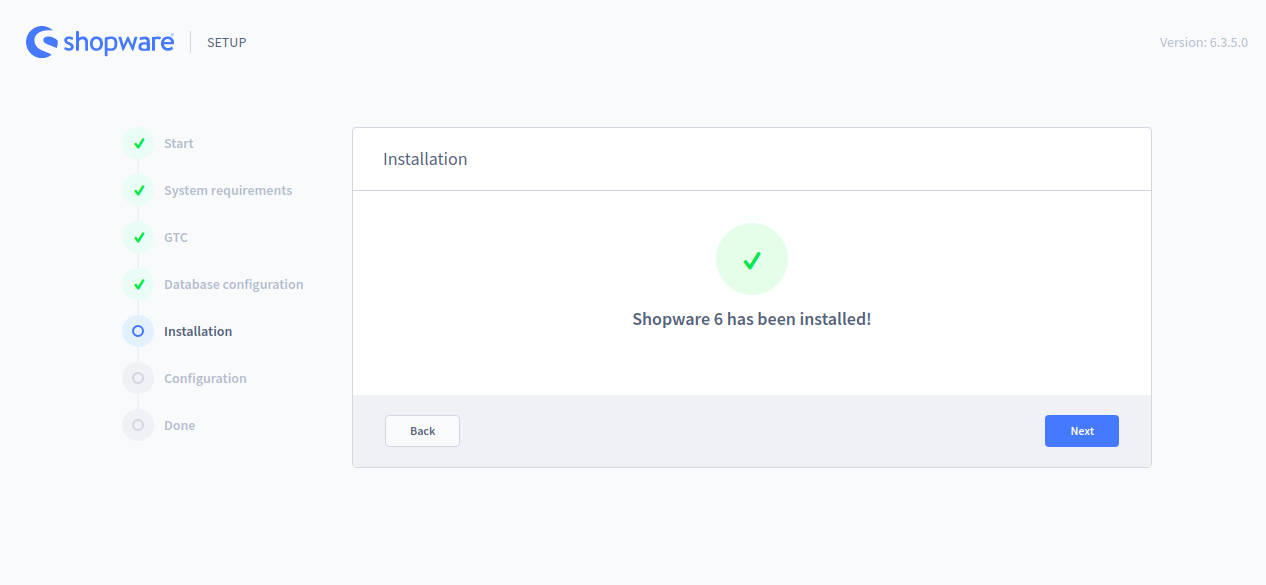
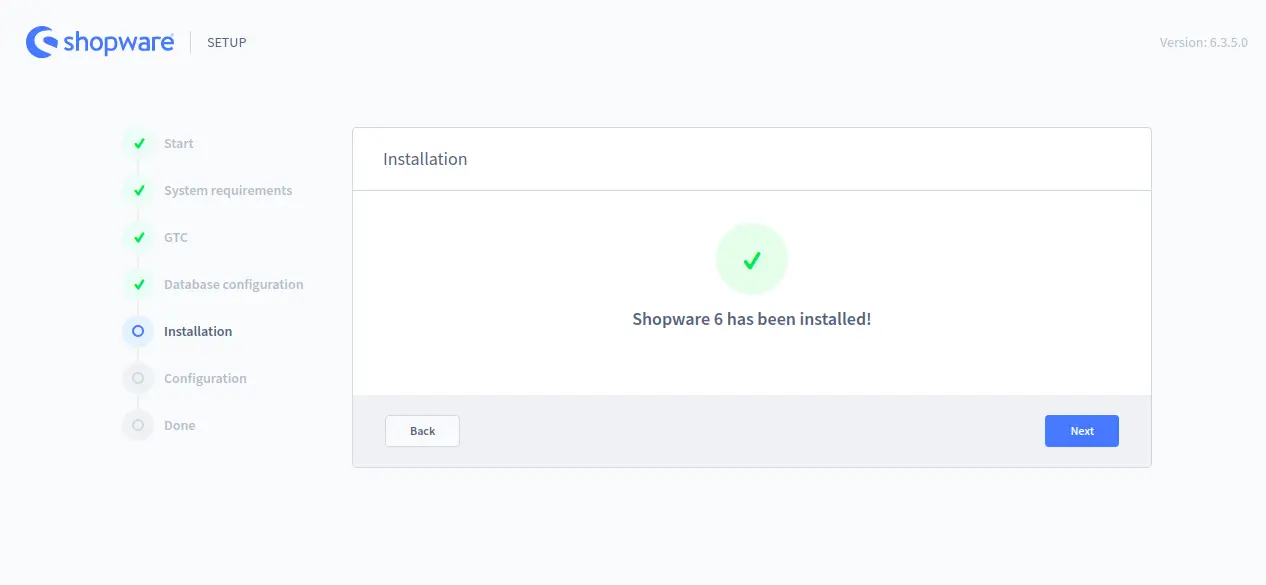
Provide your database, username, password and click on the Startinstallation button and follow the steps to complete the configuration.
Once you have completed the installation wizard and shopware installed, you will be redirected to the dashboard. That’s all!
Once the image is installed, you will need to go to https://127.0.0.1:8443/ as that’s where the docker image is installed.
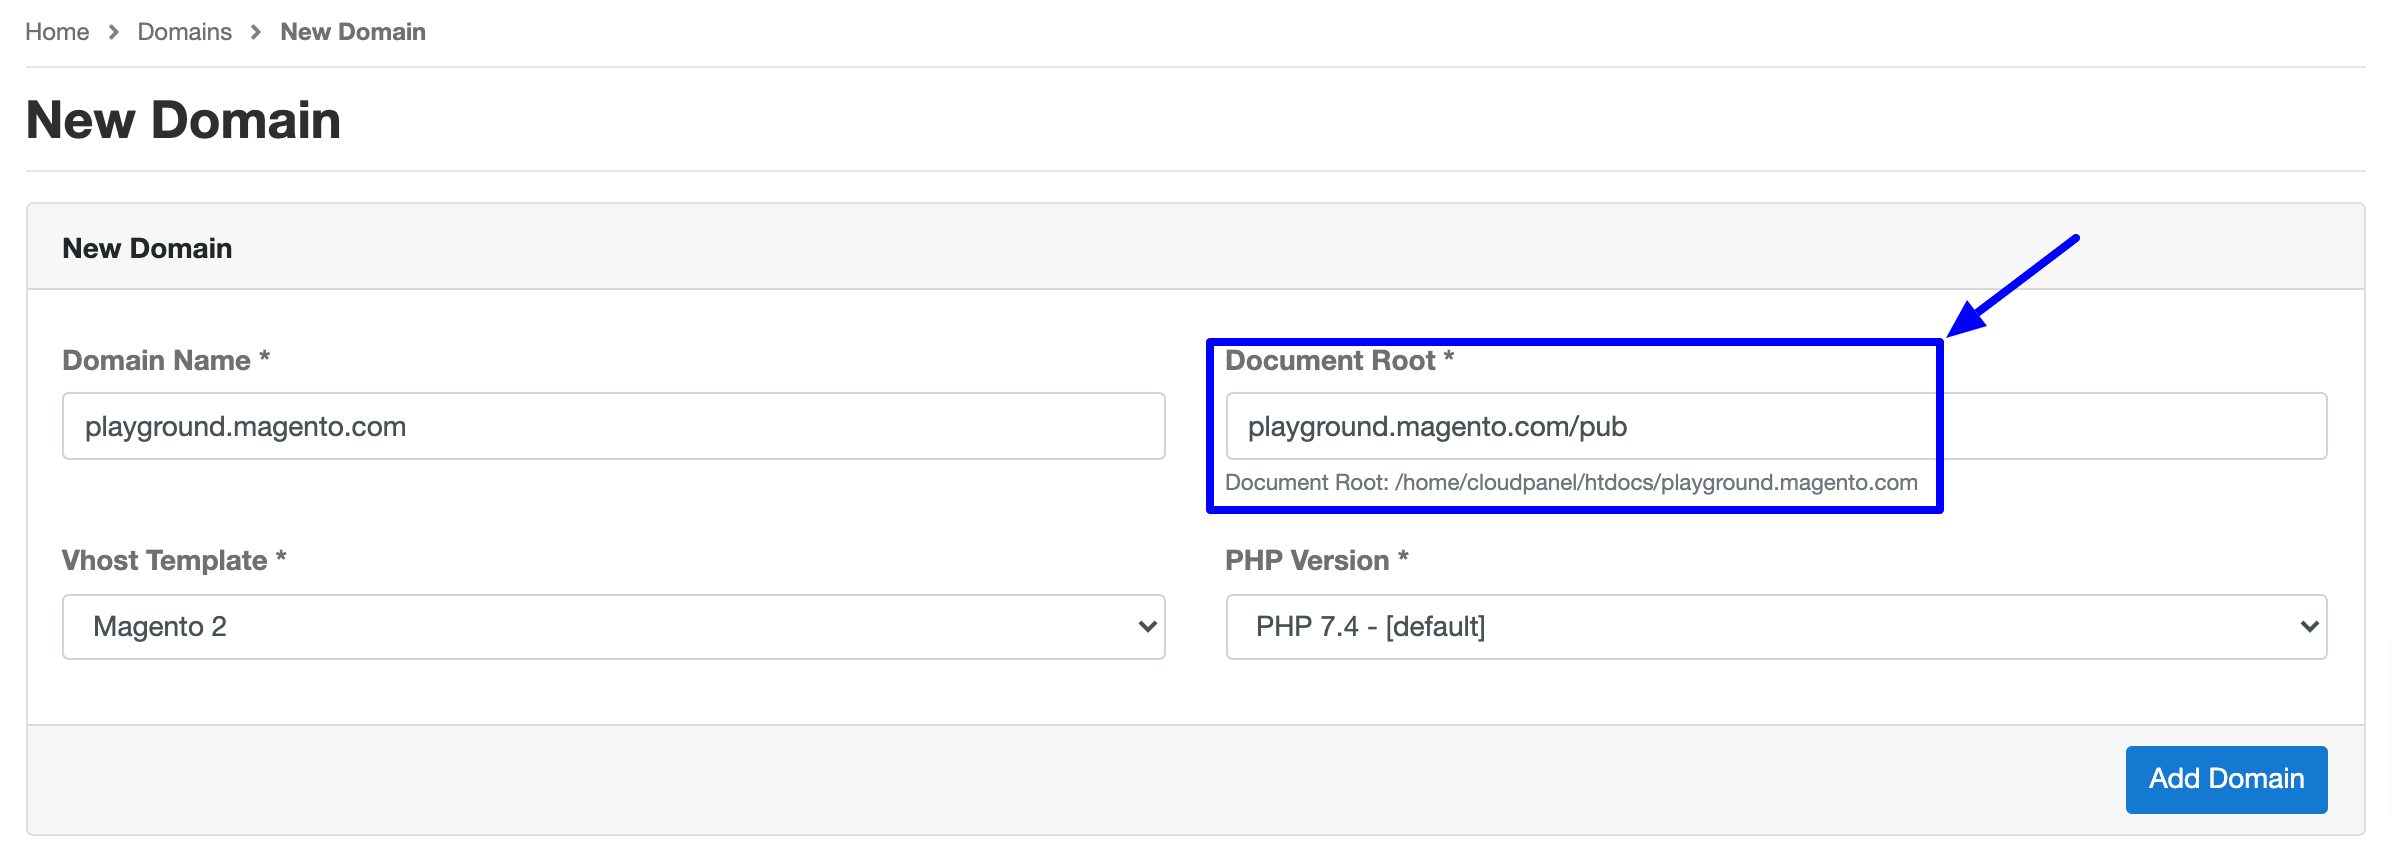
Next, click on the Add Domain button to add a new local domain to install your Magento:
Important: Magento has removed the root index.php in Magento 2.4.2 and moved it to the ./pub directory so you will need to add ./pub to your document root as shown in the image above.
Once the domain is setup, you will need to create a database which you can create by clicking on the Databases link from the left hand menu.
Next, it is now time to download Magento on your local server but first you will need to login to the MGT Commerce’s Docker Image.
Open terminal and ssh using the following details:
FTP HOST:127.0.0.1:22
USERNAME: root
PASSWORD: root
.. then navigate to the htdocs directory i.e.cd htdocs/playground.magento.com/
Finally, run the following to download Magento to the site root:
Once the installation is complete, you should be able to access Magento on https://playground.magento.com/ (but remember you will need to add this entry in your hosts file to access the site).
I am a Magento certified expert with a 100% success rate on UpWork (View Profile) and more than 2000 hrs.
I am an eCommerce Enthusiast and started using Magento back in 2014. I specialise in creating custom and bespoke modules for Magento including but not limited to third party integrations and bespoke business requirements.


