Setup Magento 2 on Docker with elasticsearch in less than 2 mins!
I’m sure you’ll agree that Magento is a very resource heavy software and requires a stable setup to run it smoothly. We’ve all been in a situation where we’ve complained how slow the Magento system is to run locally but what if I told you there is a docker setup for Magento which is ready to use and only requires one command to have your environment ready? Yes only command!
In my early days as a Magento developer, I’d marry with a fact that we should never rely on a local WAMP/XAMP setup to run Magento and I was introduced to Docker but that being said, there were so many Magento instances to choose from. Some required custom integrations/plugins and some were not good enough to use.
I then stumbled upon a ready-to-use Docker cloundpanel instance which was purely focused on providing developers with a stable Magento development setup in one step, and the step was to install the Docker image locally and viola you have a cloudpanel quite similar to CPanel which allows us to create/list multiple development domains and it was packaged with Elasticsearch, MySQL and Varnish to support Magento.
The Docker instance I’m referring to is create by MGT-Commerce which is a Magento cloud hosting providers. I’ve detailed the steps below to install and setup a Magento development domain.
The MGT Docker image comes in all stable version of PHP starting from PHP 7.0 up to PHP 7.4. You can pick and choose the PHP image you need and even you can run multiple instances at the same time (just ensure each instance has a unique port).
Since Magento 2.4 is now our and ready to use so let’s setup a PHP 7.3 instance and install Magento.
First, we need to install the PHP 7.4 image and to do that, run the following command in your Docker CLI.
Install PHP 7.3 Docker Image
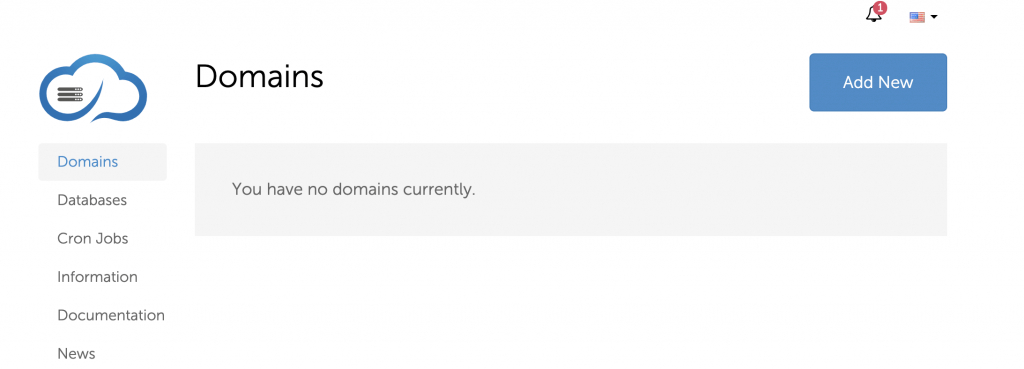
docker run -d --net=bridge -v /var/lib/mysql --restart=always --privileged -h mgt-dev-73 --name mgt-dev-73 -it -p 80:80 -p 443:443 -p 22:22 -p 3306:3306 -p 3333:3333 -p 9200:9200 mgtcommerce/mgt-development-environment-7.3Once the image is installed, you can access it at http://127.0.0.1:3333/ and the panel should look similar to the following image:

Install Magento 2.4 on Docker
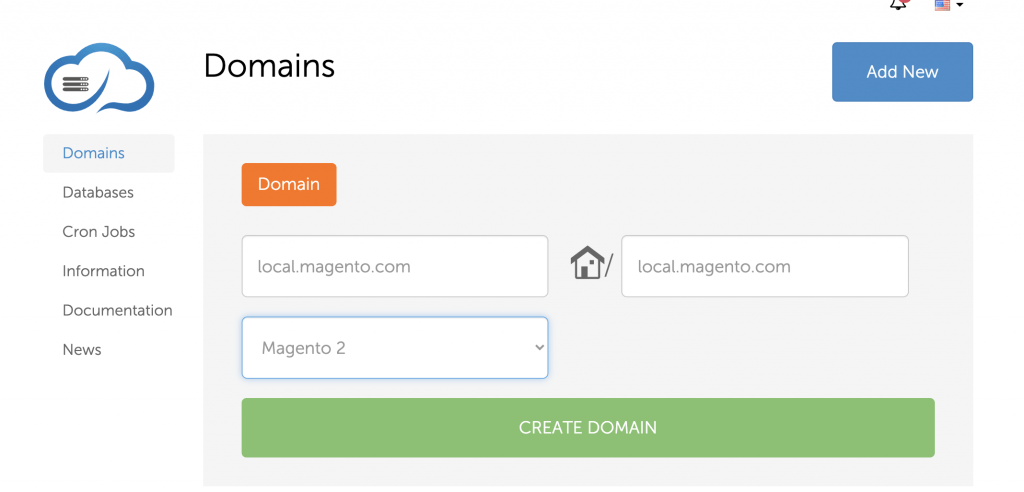
First, we need a domain to setup/install Magento 2. Simply click on Add New to create a domain space and click Create Domain.


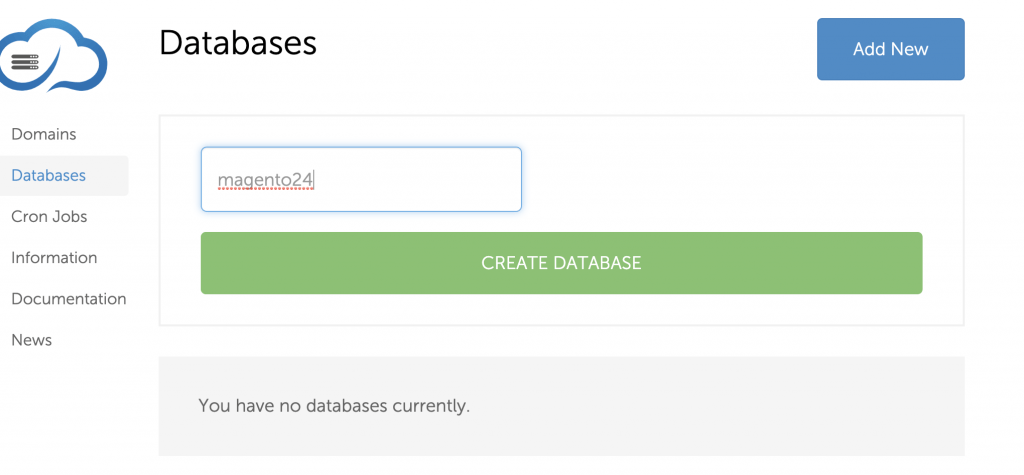
Next, we need to setup a MySQL database to install Magento so simply click on Databases from the left nav panel and click Add New.

Now, we should have a database ready to install Magento, a domain name and a web/disc space created in our Docker container to install Magento.
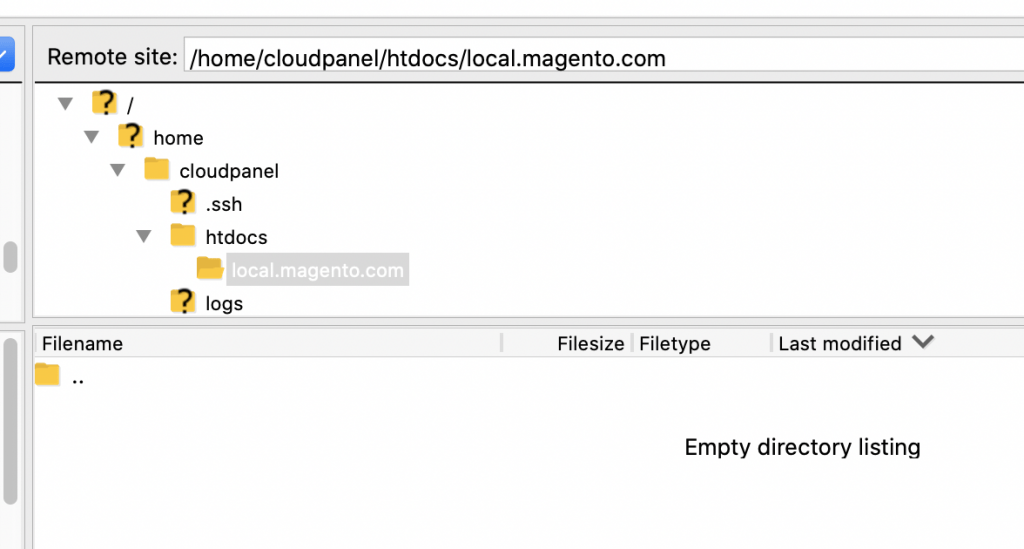
You can also access the website root via SFTP or SSH.

To connect, simply use the following:
FTP HOST: 127.0.0.1:22
USERNAME: root
PASSWORD: root
DOCUMENT ROOT: /home/cloudpanel/htdocs/local.magento.com
Finally, simply download the Magento 2.4 composer file or the whole package from their GIT repo and upload to the directory specified above. Once done, connect to the server using SSH and you can safe run the Magento installation commands to install Magento.
That’s all! No rocket science!
Do you have any questions or feedback? Please let me know in the comments!


