A Magento 2 service contract is a set of interfaces that define the API for a specific service in Magento 2. These interfaces provide a consistent and stable way for external modules and extensions to interact with the core functionality of Magento 2.
A service contract is made up of three main components:
The interface: This defines the methods that a service must implement and the arguments and return types that those methods must have.
The service class: This is the implementation of the interface and contains the actual logic for the service.
The web API: This provides a way for external systems to interact with the service through a RESTful API.
For example, the Magento 2 service contract for the customer service includes the following interfaces:
\Magento\Customer\Api\AccountManagementInterface: This interface defines the methods for creating, retrieving, and updating customer account information.
\Magento\Customer\Api\CustomerRepositoryInterface: This interface defines the methods for retrieving and saving customer information.
\Magento\Customer\Api\Data\CustomerInterface: This interface defines the data structure for a customer object.
The service class that implements these interfaces would then contain the actual logic for creating, retrieving, and updating customer information in the Magento 2 database.
The web API, on the other hand, provides a way for external systems to interact with the customer service through RESTful API calls. This allows external systems to create, retrieve, and update customer information in Magento 2 without having to directly interact with the database.
The main advantage of using service contracts in Magento 2 is that they provide a stable and consistent API for external modules and extensions to interact with the core functionality of Magento 2. This means that external modules and extensions can rely on the service contracts to remain unchanged between versions of Magento 2, which reduces the risk of compatibility issues.
Additionally, service contracts provide a clear separation of concerns between the service logic and the web API, which makes it easier to maintain and extend the service. This separation also allows for more flexibility in how the service is used, as it can be accessed through both the web API and directly through the service class.
Furthermore, service contracts provide a way to validate data before being saved to the database which can improve the security and reliability of your website.
In summary, Magento 2 service contracts are a powerful tool that allows developers to create stable and consistent APIs for external modules and extensions to interact with the core functionality of Magento 2. They provide a clear separation of concerns between the service logic and the web API, which makes it easier to maintain and extend the service. They also provide a way to validate data before being saved to the database which can improve the security and reliability of your website.
Example
For example, the following code defines a service contract for a customer service:
interface CustomerServiceInterface
{
    public function getById($customerId);
    public function save(CustomerInterface $customer);
    public function delete(CustomerInterface $customer);
}
In this example, the CustomerServiceInterface defines three public methods: getById, save, and delete. Any class that implements this interface must provide an implementation for these methods. This ensures that the service class can be used in a predictable way by other parts of the system, such as controllers or other services.
The implementation of this service contract will look like this:
class CustomerService implements CustomerServiceInterface
{
    protected $_customerFactory;

    public function __construct(
        \Magento\Customer\Model\CustomerFactory $customerFactory
    ) {
        $this->_customerFactory = $customerFactory;
    }

    public function getById($customerId)
    {
        $customer = $this->_customerFactory->create();
        $customer->load($customerId);
        return $customer;
    }

    public function save(CustomerInterface $customer)
    {
        $customer->save();
    }

    public function delete(CustomerInterface $customer)
    {
        $customer->delete();
    }
}
Service contracts can be used to improve the maintainability and flexibility of the code, by providing a clear and consistent API for interacting with different parts of the system. Additionally, service contracts can be used to test the service class without actually interacting with the database.
As you can see in this example, we are using the CustomerFactory model to create a customer object and load it’s information by using its ID, this service contract also allows us to save and delete customer information as well, by providing a clear API for interacting with the customer’s data.
Magento 2 plugins are a type of extension that allow developers to modify the core functionality of the Magento 2 platform without changing the core code. This means that developers can add new features or modify existing ones without altering the core code, which makes it easier to upgrade the platform and maintain stability.
There are two types of Magento 2 plugins: before and after plugins. Before plugins are called before the original method is executed, and after plugins are called after the original method is executed. Let’s take a look at some code examples to help illustrate the difference between these two types of plugins.
Before Plugins
Before plugins are used to modify the input parameters of a method before it is executed. For example, let’s say we want to modify the price of a product before it is added to the cart. Here’s how we might do that with a before plugin:
class ModifyPriceBeforePlugin
{
    public function beforeAddProduct(
        \Magento\Checkout\Model\Cart $subject,
        $product,
        $requestInfo = null
    ) {
        $product->setPrice($product->getPrice() * 1.1);
        return [$product, $requestInfo];
    }
}
In this example, we’re using a before plugin to modify the price of the product by 10% before it is added to the cart. The beforeAddProduct method is called before the original addProduct method is executed, so the modified price will be used in the original method.
After Plugins
After plugins are used to modify the output of a method after it has been executed. For example, let’s say we want to add a custom message to the checkout success page. Here’s how we might do that with an after plugin:
class AddMessageAfterPlugin
{
    public function afterExecute(
        \Magento\Checkout\Controller\Onepage\Success $subject,
        $result
    ) {
        $customMessage = 'Thank you for your purchase!';
        $result->getLayout()->getBlock('checkout.success')->setCustomMessage($customMessage);
        return $result;
    }
}
In this example, we’re using an after plugin to add a custom message to the checkout success page. The afterExecute method is called after the original execute method is executed, so the custom message will be displayed on the success page.
Around Plugins
A Magento 2 around plugin is a type of plugin in the Magento 2 framework that allows developers to modify the behavior of a method by wrapping it in a new function. This allows developers to add additional functionality to an existing method without changing the original code.
For example, suppose a Magento 2 store has a method called “sendEmail” that is responsible for sending emails to customers. A developer may want to add the ability to log all emails that are sent, but does not want to modify the original “sendEmail” method. In this case, the developer could create an around plugin that wraps the “sendEmail” method and adds the logging functionality. The plugin would then be called every time the “sendEmail” method is called, and the original method would still be executed as normal.
Here is an example of how the around plugin might be implemented:
public function aroundSendEmail(
    \Magento\Customer\Model\EmailNotificationInterface $subject,
    \Closure $proceed
) {
    // Log the email that is being sent
    $this->logger->info('Sending email to ' . $subject->getRecipientEmail());

    // Execute the original method
    $result = $proceed();

    // Return the result of the original method
    return $result;
}
Conclusion
Magento 2 plugins are a powerful tool for modifying the core functionality of the platform without changing the core code. Before plugins are used to modify the input parameters of a method before it is executed, and after plugins are used to modify the output of a method after it has been executed. Both types of plugins can be used to add new features or modify existing ones, making it easier to upgrade the platform and maintain stability.
Dependency injection (DI) is a design pattern that allows you to inject objects into a class, rather than creating them inside the class. This allows you to decouple the class from its dependencies, making it more flexible and easier to test.
In Magento 2, you can use dependency injection by adding the required objects as constructor arguments in your class, and then using the __construct method to inject them into the class. For example:
class MyClass
{
    protected $curl;

    public function __construct(
        \Magento\Framework\HTTP\Client\Curl $curl
    ) {
        $this->curl = $curl;
    }

    public function makeRequest()
    {
        $this->curl->get('https://www.example.com');
    }
}
In this example, the MyClass class depends on the Curl class to make HTTP requests. By using dependency injection, we can inject the Curl class into the MyClass class and use it without having to create it inside the class.
Object Manager is a class in Magento 2 that is responsible for creating and managing objects in the system. It uses a registry to store objects, so that they can be reused instead of being created multiple times.
To use the object manager, you can use the create method to create an object, or the get method to retrieve an existing object from the registry. For example:
$objectManager = \Magento\Framework\App\ObjectManager::getInstance();

// Create a new object
$curl = $objectManager->create('Magento\Framework\HTTP\Client\Curl');

// Get an existing object from the registry
$curl = $objectManager->get('Magento\Framework\HTTP\Client\Curl');
While object manager is a powerful tool, it is generally recommended to use dependency injection instead, as it makes your code more flexible and easier to test. Object manager is more suited for situations where you need to create objects on the fly, or when you don’t have access to the class constructor (e.g. in a plugin).
To make an HTTP request in Magento 2, you can use the following steps:
First, you need to inject the HTTP client class into your class using dependency injection. You can do this by adding the following line of code in your class constructor:
public function __construct(
    \Magento\Framework\HTTP\Client\Curl $curl
) {
    $this->curl = $curl;
}
Now you can use the $this->curl object to make an HTTP request. You can set the request method, headers, and body using the following methods:
// Set the request method
$this->curl->setOption(CURLOPT_CUSTOMREQUEST, 'POST');

// Set the request headers
$this->curl->setHeaders(['Content-Type: application/json']);

// Set the request body
$this->curl->setBody(json_encode($requestBody));
Finally, you can send the request and get the response using the following code:
// Send the request
$this->curl->get($url);

// Get the response status code
$statusCode = $this->curl->getStatus();

// Get the response body
$responseBody = $this->curl->getBody();
That’s it! You have now made an HTTP request in Magento 2 using the Curl client class.
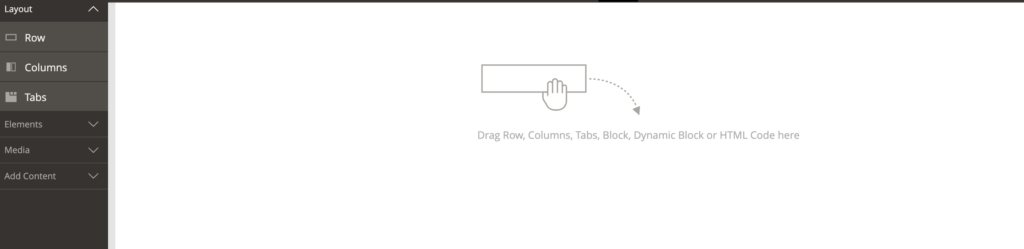
We have recently upgraded Magento to Magento 2.4.4 and noticed that admin is no longer able to use the “row” element of the page builder, and the following error is returned in the developer’s tool console:
static/adminhtml/Magento/backend/en_GB/vimeoWrapper.js%20net::ERR_ABORTED
Script error for "vimeoWrapper", needed by: Magento_PageBuilder/js/content-type/row/preview
Fix:
This is due to module-page-builder being updated for Magento 2.4.5 but this does not seem to be backwards compatible with 2.4.4.
You will need to run composer require magento/module-page-builder:2.2.2 to get the correct version and this should fix the issue.
Please do not forget to remove this dependency when you upgrade to Magento 2.4.5.
I recently upgraded one of my clients website from Magento 2.4.2 to Magento 2.4.4 and the site uses Braintree as the payment gateway and the backend Braintree Virtual Terminal is used quite frequently in their business.
After the upgrade, the virtual terminal stopped working though it’s still inconclusive if it was good by the Magento upgrade.
Issue:
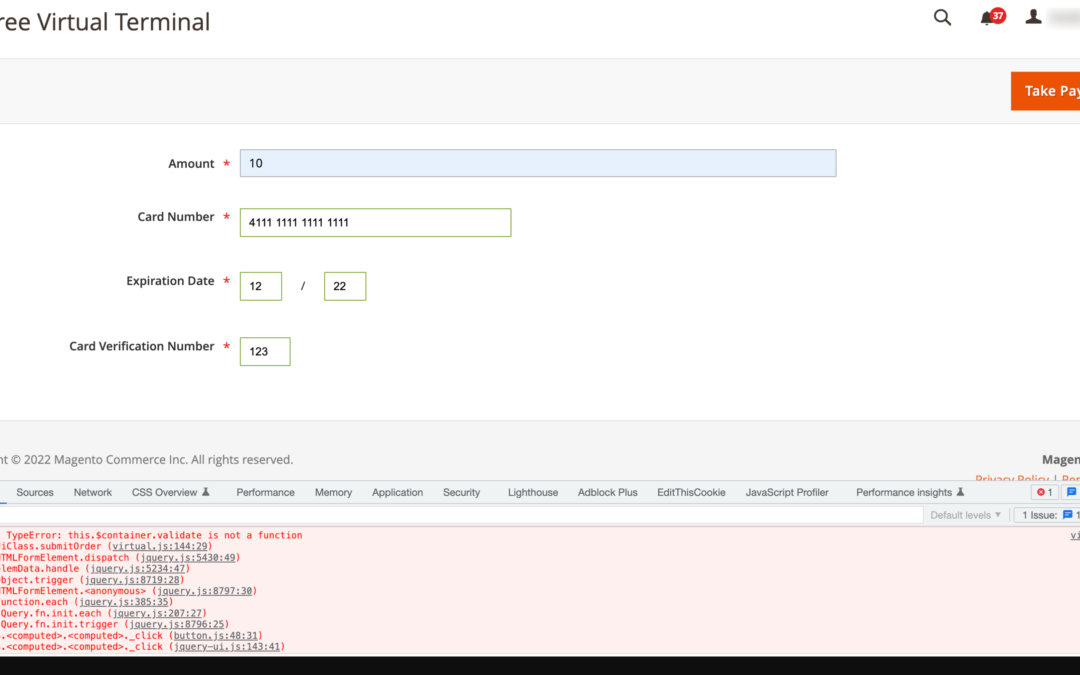
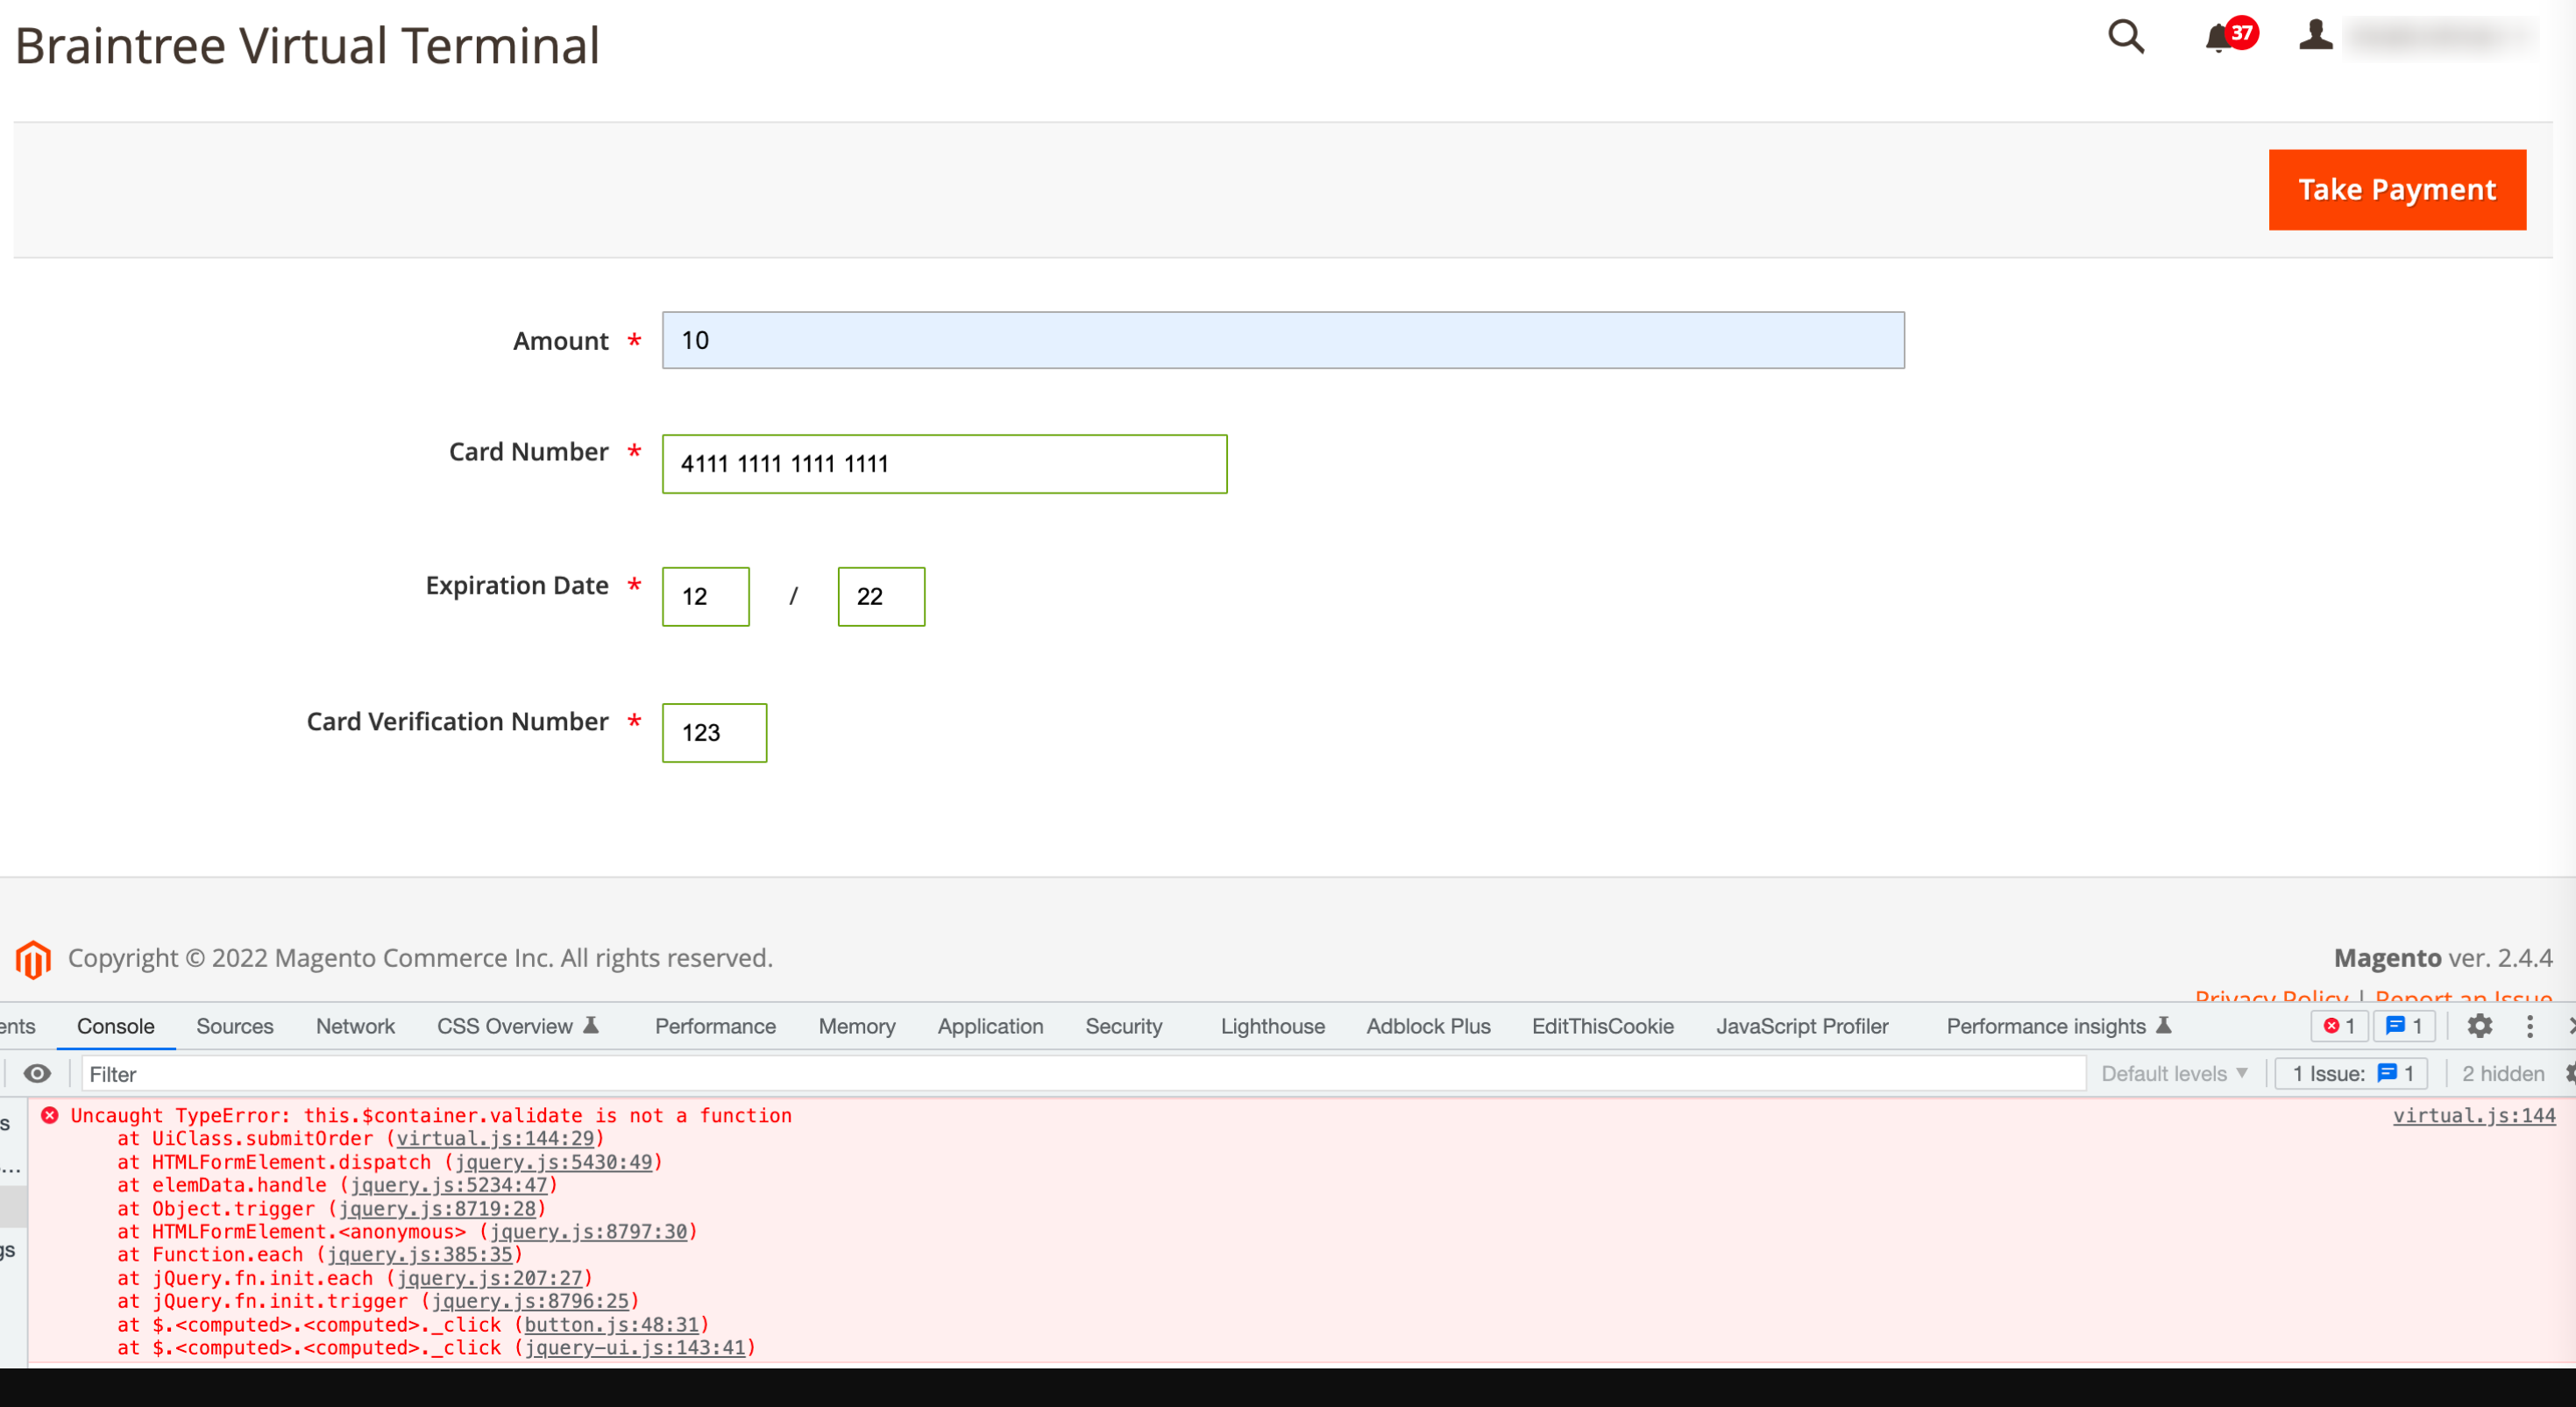
Braintree Virtual Terminal does not work and clicking on the Take Payment button returns the following error in console:
virtual.js:144 Uncaught TypeError: this.$container.validate is not a function
    at UiClass.submitOrder (virtual.js:144:29)
    at HTMLFormElement.dispatch (jquery.js:5430:49)
    at elemData.handle (jquery.js:5234:47)
    at Object.trigger (jquery.js:8719:28)
    at HTMLFormElement.<anonymous> (jquery.js:8797:30)
    at Function.each (jquery.js:385:35)
    at jQuery.fn.init.each (jquery.js:207:27)
    at jQuery.fn.init.trigger (jquery.js:8796:25)
    at $.<computed>.<computed>._click (button.js:48:31)
    at $.<computed>.<computed>._click (jquery-ui.js:143:41)
Steps to replicate:
Go to Magento admin > Sales > Braintree virtual terminal and add test card details and fill the dummy information > Click Take Payment
Nothing happens and instead a console error is returned
this.$container.validate console error
Fix:
I found that the required jQuery validator was missing in vendor/paypal/module-braintree-core/view/adminhtml/web/js/virtual.js and adding the missing library fixed the issue.
Since this was a core modification and there is no fix available yet so I have created a patch that you can apply with composer to add the missing library. Please note it is never a good idea to modify the core code file directly so either create a preference/override or create a diff patch to apply via composer.
To apply the patch, create a new file called diff.patch and put the following code in it and finally, install it with composer update.
I am a Magento certified expert with a 100% success rate on UpWork (View Profile) and more than 2000 hrs.
I am an eCommerce Enthusiast and started using Magento back in 2014. I specialise in creating custom and bespoke modules for Magento including but not limited to third party integrations and bespoke business requirements.